
Get the job done with a pro
From training to full-service marketing, our community of partners can help you make things happen.
Switch from Mailchimp for Shopify [Legacy]
We’ve sunset Mailchimp for Shopify [Legacy]. If you’ve been using this integration and you want to continue to sync your Shopify data to Mailchimp, you’ll need to switch to the current Mailchimp for Shopify. This requires a few steps to migrate any automations you might have set up.
If you’re not sure whether you’re using Mailchimp for Shopify [Legacy], you can check your existing integrations. Scroll to Authorized applications and look for Mailchimp for Shopify [Legacy].

In this article, you’ll learn how to switch from the legacy Shopify integration to Mailchimp for Shopify.
Note
If you no longer want to sync your Shopify contacts to Mailchimp, you don’t need to take any action. Your Mailchimp audience won’t be affected.
How it works
Switching your integration from the legacy Shopify integration to Mailchimp for Shopify is a multi-step process. To avoid errors with your automations, you'll need to pause your active campaigns, migrate your e-commerce automations, and then disconnect Mailchimp for Shopify [Legacy]. Here's how it works.
- Install Mailchimp for Shopify
Use Mailchimp for Shopify to establish a new connection to your Shopify store. - Migrate your e-commerce automations
To avoid sending duplicate messages, we recommend that you migrate your active automations to Mailchimp for Shopify. - Disconnect Mailchimp for Shopify [Legacy]
After your automations migrate, it's time to disconnect the legacy Mailchimp for Shopify integration.
Before you start
Here are some things to know before you begin this process.
- You must have manager access or higher to make changes to your integration. To learn more about user levels, visit Manage User Levels in Your Account.
- Subscriber-based automations being sent from your Shopify store, like automated welcome emails or an onboarding series, will need to be archived and recreated with Mailchimp for Shopify to avoid sending duplicate messages. We recommend that you save them as a template to speed up the recreation process. To learn more, check out Save and Use an Email Template.
- The abandoned cart email series will not migrate at this time.
- If you have a signup option for your contacts during the checkout process, it's important that you leave the Preselect the sign-up option box unchecked. To learn about Shopify marketing opt-in settings, visit the Shopify Help Center.
Install and connect
Use Mailchimp for Shopify to send your Shopify customer and order data to Mailchimp. To install, follow these steps.
- Log in to your Shopify store.
- Click Apps.
- Click Shop for apps.
- Find the Mailchimp listing and click Add app.
- Click Install App.
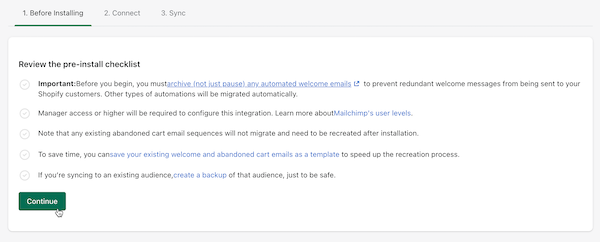
- Click Continue.
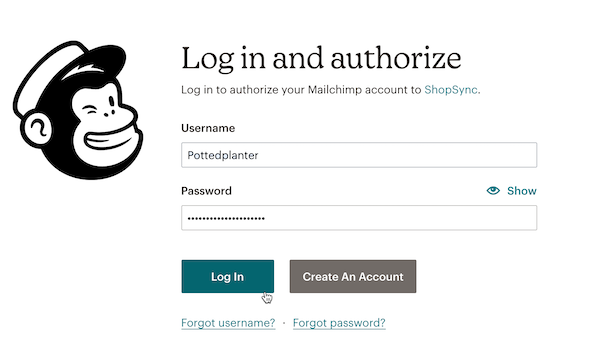
- In the pop-up window, input your Mailchimp credentials and click Log In.
- Click Allow.

- After you connect, you'll select an audience, choose your double opt-in settings, and map merge tags. For more detailed information about these tasks, check out Connect or Disconnect Mailchimp for Shopify.
- Click Sync Audience.
That's it! Mailchimp for Shopify will start to sync your store information to Mailchimp. The time it takes to sync depends on account data and the number of orders in your store.
Migrate your e-commerce automations
To avoid sending duplicate messages, you'll need to migrate your e-commerce automations to send from Mailchimp for Shopify.
To migrate your store, follow the steps outlined in the following sections.
Pause your active e-commerce automations
Abandoned cart automations, order notifications, and product retargeting campaigns will all need to be paused.
To pause your automations, follow these steps.
- Click Campaigns.

Click All campaigns.
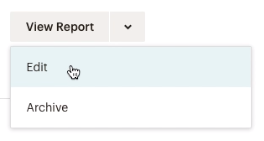
Click the drop-down menu for the automation being sent from Shopify and choose Edit.
- Click Pause All Emails.


Some types of automations look a little different. For these, you’ll click Pause And Edit.

Repeat steps 2 and 3 for all e-commerce automations connected to the legacy Shopify integration.
Click link to migrate your store
To migrate your store's automations to Mailchimp for Shopify, follow these steps.
- Click this link. When you click this link, a new tab will appear and we'll transfer your automations to send from Mailchimp for Shopify.
- Close the tab.
Resume automations
To resume your automations, follow these steps.
- Click Campaigns.
Click All campaigns.
Click the drop-down menu for the automation you want to work with and choose Edit.
- Click Resume All Emails.

Some types of automations look a little different. For these, you'll click Resume Sending.

Disconnect Mailchimp for Shopify [Legacy]
After you've installed Mailchimp for Shopify and migrated your automations, it’s time to disconnect the Mailchimp for Shopify [Legacy] integration.
To disconnect the legacy Shopify integration, follow these steps.
In your Mailchimp account, click Integrations.
- Click Manage.
Verify that you're looking at the correct store.

Click Disconnect.

- In the pop-up modal, type DISCONNECT and click Continue to proceed with disconnecting your store.

That's it! You have just disconnected your Mailchimp for Shopify [Legacy] integration.
Technical Support

Have a question?
Paid users can log in to access email and chat support.