Manage Your Website in Mailchimp
Once you've created a website, grow your home on the web to include more web pages and content.

Get the job done with a pro
From training to full-service marketing, our community of partners can help you make things happen.
Create a website in Mailchimp to share your business with the world and stay in touch with your audience. We'll help you design your web pages, publish your website to a domain, track your website's performance, and everything else you need to get online.
In this article, you’ll learn how to create a website in Mailchimp.
Here are some things to know before you begin this process.
To create a website, follow these steps.
The Mailchimp website builder is where you can design your site. Here, you’ll choose the web page you want to work with and add images, text, and other content to share your story with visitors.
To design a site that matches your brand, add or duplicate pages as needed, and use the Styles menu to select fonts, colors, and other elements. You can also control the settings for your site’s cookie banner from the website builder. For step-by-step guidance on how to design your website, check out Design Your Website in Mailchimp.

Once you've added content and designed your page, click Preview to see how it looks, or click Done to navigate back to the Manage Site page. From here, click Finish Later to return to the website dashboard where you can continue to set up your site.
To learn more about how to add, duplicate, hide, or delete web pages, check out Manage Your Website in Mailchimp.
Website domains allow your brand to establish a trusted online identity.
To edit your website's domain name, follow these steps.
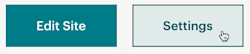
On your website dashboard, click Settings.
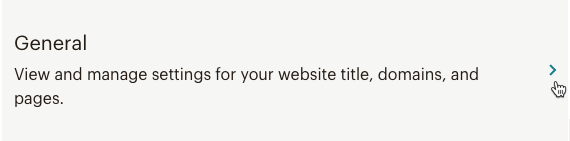
Choose the General settings option.
In the Domain section, click Edit.

Choose whether you want to use a custom or Mailchimp domain. For a Mailchimp domain, type in the subdomain you’d like to use for your website. For a custom domain, enter your website name, then go to the Domains Overview page to add it. To learn more about domains, check out Getting Started with Domains.
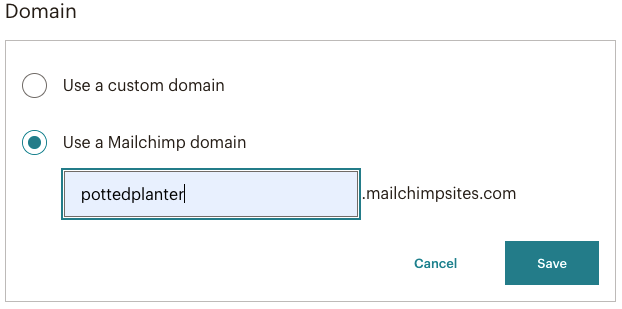
Click Save.

Nice job! Now you have a branded URL to share after you publish your website.
Note
To publish a Mailchimp website on a custom domain, you need a paid Websites plan. To find out what features are included in each plan, check out our pricing page.
Site tracking allows you to monitor your website’s unique visits and new signups.
To add tracking to your website, follow these steps.
Choose the General settings option.
In the Site tracking section, click Edit.
![]()
Check the box next to the tracking options you want to use, then click Save.
![]()
To learn more about our tracking options, check out Track with Mailchimp, Track with the Meta Pixel (formerly Facebook Pixel), and Track with Google Analytics.
Great work! Next, we’ll go over the settings for your individual web pages.
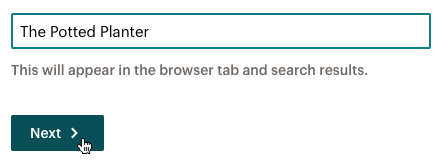
Each page that you manually add to your website has individual settings that control how it displays on your site’s navigation bar, in web browsers, and in search results. You can also change each page’s URL path. This is where you can apply SEO (search engine optimization) tactics to help make your page more findable and increase traffic.
For step-by-step instructions on how to edit your page settings, check out Edit Your Page URL and SEO Settings.
After you’ve edited your website’s content, design, domain, tracking, and other settings, you’ll be ready to share your website with the world. Before you publish, we recommend you preview how it will appear on desktop and mobile.
To preview and publish your website, follow these steps.
On your website dashboard, hover over the image of your homepage, then click Preview website to review your content as it will appear live.
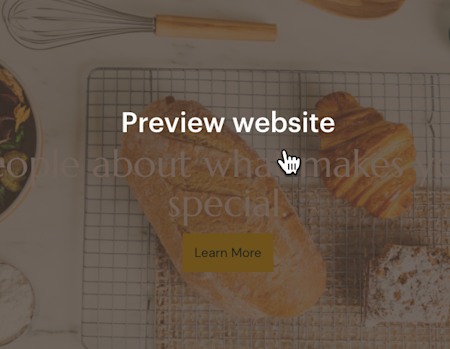
Click Exit Preview to leave the preview.
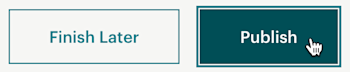
When you’re ready, click Review & Publish.

After a final review of your website, click Publish.
In the pop-up modal, review our additional terms and conditions, then click Accept Terms & Publish.

You’ve done it! Your website is live at the URL on your dashboard. You can unpublish your website later if you need to. For more information on the unpublish process, check out Manage Your Website in Mailchimp.
Your site is up and running. Now what? Here are a few ways to optimize your Mailchimp website.
Customize your website favicon
Change your site icon to a custom image that matches your brand style and brings a polished look to your website. To learn how to customize your website favicon, check out Customize the Favicon of Your Mailchimp Website or Landing Page.
Add more pages
Grow your website with new content and additional web pages. When you keep your website up to date, you’ll build your audience and encourage repeat visits. To learn how to add, duplicate, and manage web pages, check out Manage Your Website in Mailchimp.
Connect a custom domain
If you own a domain from a separate service, you can connect it to your Mailchimp account. To learn more, check out Connect a Domain or Subdomain. Publishing a website on a connected custom domain requires a paid Websites plan. To find out what features are included in each plan, check out our pricing page. To change your plan type, visit the plans page in your account.
Add a pop-up signup form
A pop-up signup form helps you connect with your website visitors. Design and customize it to fit your brand, and add special offers or discounts to help grow your audience and boost sales. To learn more, check out Add a Pop-Up Signup Form to Your Website.
Promote your website
Promote and share your new website through marketing campaigns in Mailchimp. Run an ad for your website. Link to your website from a regular email campaign. You can also share your website URL on social media.
View reports
We’ll start to compile reporting data as people visit your site. You can see who visits your website, clicks links on your web pages, and subscribes to your emails.
Technical Support

Have a question?
Paid users can log in to access email and chat support.
Once you've created a website, grow your home on the web to include more web pages and content.
Learn how to use the different sections and layouts in your website design.