About Audience Analytics
Audience analytics tracks the growth and change in your subscriber counts over time.

Get the job done with a pro
From training to full-service marketing, our community of partners can help you make things happen.
An email client is an application that someone uses to manage their emails. Every email client renders your email's HTML code in a different way, so it's helpful to know which clients your subscribed contacts use most often. Mailchimp tracks this for you in your audience stats.
Use this information to test content and layout with Inbox Preview, and experiment with different styles. For instance, try to design an email exclusively for web browser email clients, and another for subscribed contacts who use Outlook's desktop application.
In this article, you'll learn how to find your audience's top email clients, and send content targeted to the email client your contacts use.
Here are some things to know before you begin this process.
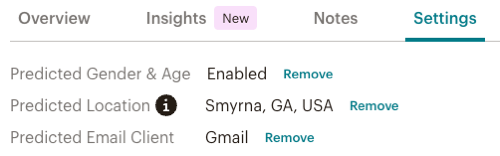
If you have an important VIP in your audience, you may want to find out what email client they prefer. To find a contact's predicted email client in their contact profile, follow these steps.
There are a couple of reasons a favorite email client isn't listed. Your contact either hasn't opened an email yet, or their email client blocks images by default, which interferes with our tracking.
If your subscribed contacts prefer a specific email client, like Gmail for example, you can design an email tailored to them. After you've designed the email and tested it with Inbox Preview, target Gmail users with a segment.
To set up an email segment based on the email client, follow these steps.
Note
In the To section of the email checklist, you can add up to 10 segments or tags when you’re defining who the audience will be for your email.
Technical Support

Have a question?
Paid users can log in to access email and chat support.
Audience analytics tracks the growth and change in your subscriber counts over time.