Create a Popup Form
Learn how to create and manage popup forms in Mailchimp.

Get the job done with a pro
From training to full-service marketing, our community of partners can help you make things happen.
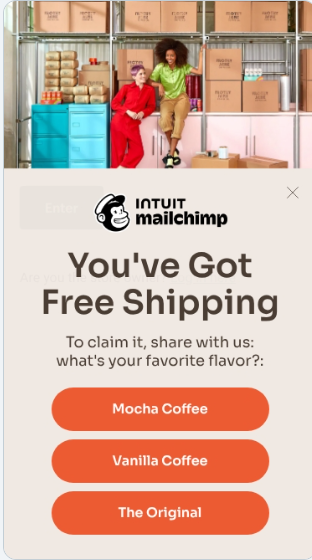
A mini quiz is an interactive way to engage website visitors and collect valuable data. Get information about what people like, such as food or clothes, then send personal marketing messages with special offers to grow your audience.
In this article, you’ll learn how to add a mini quiz to your popup form.
Here are some things to know before you begin this process.
Add a mini quiz to your pop-up form to learn more about your customers and their personal interests, like favorite foods, fashion style, and fitness goals. Before you build your mini quiz, make sure you’ve created a group in your audience. Groups are the most effective way to map and organize data collected from your quiz.
You’ll create your popup form and add a mini quiz template. Include open-ended or multiple-choice questions to ask customers more about themselves. Once you map your quiz to your audience, the data will be organized so that you can send personalized messages, offers, or follow-ups based on their answers. You can customize your mini quiz to match your brand and style.
Here are the three steps you’ll perform to add your mini-quiz.
Groups are necessary to map the data collected from your quiz.
To create a group, follow these steps.
When you create your pop-up form, select a mini-quiz template to start building your mini quiz.
This will take you to the pop-up form Editor where you can edit your mini quiz.
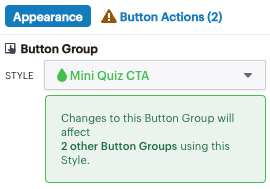
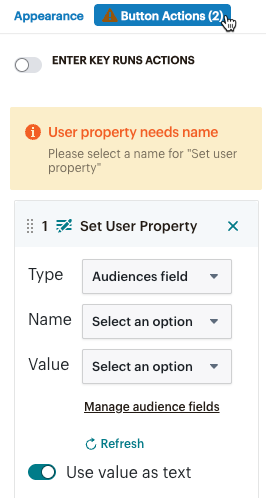
To edit your design and map your mini quiz, follow these steps.
That's it! You've created and mapped your mini quiz. You can now follow up and send customers targeted messages.
Technical Support

Have a question?
Paid users can log in to access email and chat support.
Learn how to create and manage popup forms in Mailchimp.
Learn how to customize and design popup forms in Mailchimp.