
Get the job done with a pro
From training to full-service marketing, our community of partners can help you make things happen.
Create a Contact Form
A contact form gives everyone a clear and reliable way to reach your business. It also lets you control when and how people reach you, which makes you less likely to receive spam. Contact form submissions go to your audience’s Inbox, so you can manage your messages without leaving Mailchimp.
In this article, you’ll learn how to create and publish a contact form.
Before you start
Here are some things to know before you begin this process.
- Make sure you’re familiar with how Mailchimp Inbox works. To learn more, read About Your Mailchimp Inbox.
- You can have one contact form per audience.
- Before you can send marketing text messages, you need to obtain SMS marketing consent from your contacts. This is different from email marketing consent.
- At this time, you can only send text messages to subscribed SMS contacts from the country that’s associated with your SMS Marketing program. If you have registered senders in multiple countries, you can send messages to subscribed contacts in each country you’re registered for. For example, if you have a sender registered in the UK and one registered in the US, you can send text messages to subscribed SMS contacts in the UK and the US.
How it works
If you’ve set up a Mailchimp Inbox for your audience, you can create a contact form that connects to it. Then, add a contact form link to your website, emails, social posts, or anywhere else you want to invite questions or feedback.
The default contact form includes an email field, subject field, message field, and an option to subscribe to your newsletter. Add audience fields to collect additional information, or choose to tag contacts who use the form. You can also edit the text and style the form to fit your brand.
When someone new completes your form, we’ll add them to your audience as a subscribed or non-subscribed contact, depending on whether they opt in to your emails or SMS. If they’re an existing contact, we’ll update their profile as needed.
Create your contact form
First, you’ll go to your Mailchimp Inbox and add a contact form as a new message source.
To create a contact form for your Mailchimp Inbox, follow these steps.
- Click Forms, then click Other forms.
- Scroll to the Contact form tile, then click Create contact form.
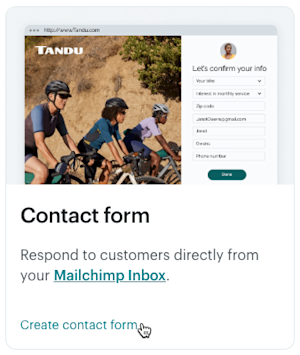
- If you have more than one audience, click the audience drop-down and choose the one you want to work with.
- In the Sources menu, click Manage.
- Find the Contact Form tile and click Add.

- Click Customize Form.
Excellent! This will take you to the contact form builder, where you can customize the content, design, and URL.
Customize your contact form
When you set up your form, you can edit the text, choose the audience fields to include, and customize the background color and logo.
To customize your contact form, follow these steps.
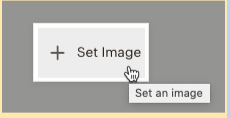
- To insert an image, hover over the form header and click Set image.
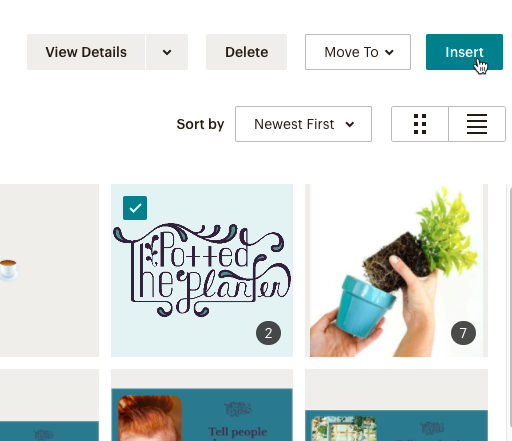
- Choose an image from the content studio and click Insert.
- Click the header to change the text and styles.

- Click the (+) plus icon to see the available audience fields and choose the one you’d like to add.
- Click a field to open its settings menu.
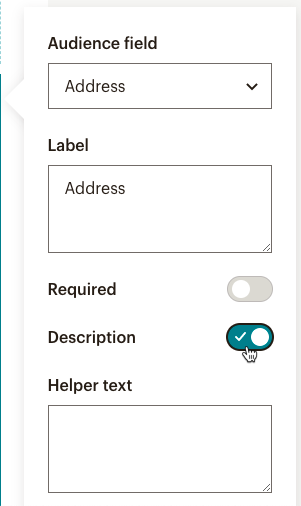
Click the Audience field drop-down to change the field type, edit the Label, toggle on the Required option to make it mandatory to fill out, or toggle on the Description option to add helper text. - Hover over a field and click the up or down arrow to move it.

- Click the submit button to access its styling options.

Click the button alignment icon to change its position, or edit the button background, hover, and font colors. - To change the color of your contact form, click Background Color and choose an option from the color picker.
- When you're done, click Next to continue to the confirmation page step.
Customize your confirmation page
After someone fills out and submits the contact form, they’ll see a confirmation page with a friendly success message. To edit this page, navigate to the Customize confirmation step. Then, click the text box and type in your changes.
Use the editing toolbar to format the font styles, add a link, or adjust the position of the text.
When you’re done with the confirmation page, click Next to continue to the tags step.
Tag contacts
Tags are labels that help you organize your contacts and send targeted messages. When you create a contact form, you can choose to automatically apply tags to anyone who uses it.
To edit these tags, navigate to the Tag contacts step. Click the drop-down to select an existing tag, or type a new one.
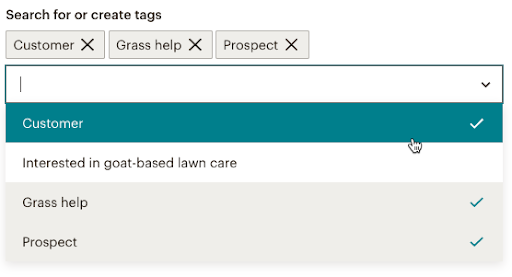
When you’re done, click Save Tags or Skip tagging to continue.
Review and publish your contact form
On the Review and publish step, check your audience, tags, and form URL to make sure everything is correct. You can also see a preview of the design.
When you’re ready, click the Publish Form button to publish your contact form and begin collecting responses. Copy the contact form URL from the review and publish step or copy the url when you visit the form.
When a new contact completes the contact form, we’ll list their signup source as the contact form.
Unpublish a contact form
To unpublish a form, follow these steps.
- Click Forms, then click Other forms.
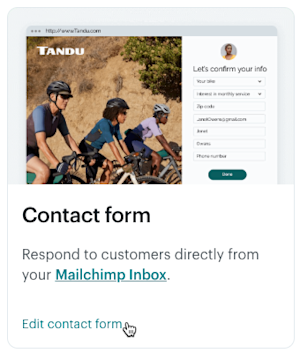
- Scroll to the Contact form tile, then click Edit contact form.
- In the Sources menu, click Manage.
- In the Contact Form tile, click Edit.

- Click Unpublish form.
You can leave your contact form unpublished, or edit and republish it.
Technical Support

Have a question?
Paid users can log in to access email and chat support.