Design Your Popup Form
Learn how to customize and design popup forms in Mailchimp.

Get the job done with a pro
From training to full-service marketing, our community of partners can help you make things happen.
Add stylish forms to your website and reach new contacts with Mailchimp's popup form builder. Popup forms can be an effective way to collect email addresses, phone numbers, and other information to grow your audience and build your brand.
In this article, you'll learn how to create a popup form in Mailchimp.
Here are some things to know before you begin.
Popup forms can be a good way to connect with potential customers, get email addresses, phone numbers, and other information. After setting a goal for your form, you’ll select customizable pre-built templates that offer incentives to get visitors to sign up. Create as many popup forms as needed per audience and tailor them to suit your marketing needs.
Choose if you want to engage with customers via email, text message, or both. Data fields provide an opportunity for you to collect information about visitor preferences. Before you can collect SMS contacts, you’ll need to submit an SMS Marketing application and be approved. SMS marketing consent is different from email marketing consent, so make sure you send marketing texts only to people who’ve opted into them.
Use advanced targeting, geotargeting, and trigger capabilities to optimize your marketing strategy. When you’ve completed customizing your popup form and publish it to your website, we’ll automatically add the form to your connected site, Shopify store, or provide the code you need to connect your site.
We'll collect and display overall performance metrics on the homepage, overview page, and you'll see individual metrics on the forms details page. You can collect important data directly from subscribed contacts and then use it to build personalized emails and text messages to help grow your business.
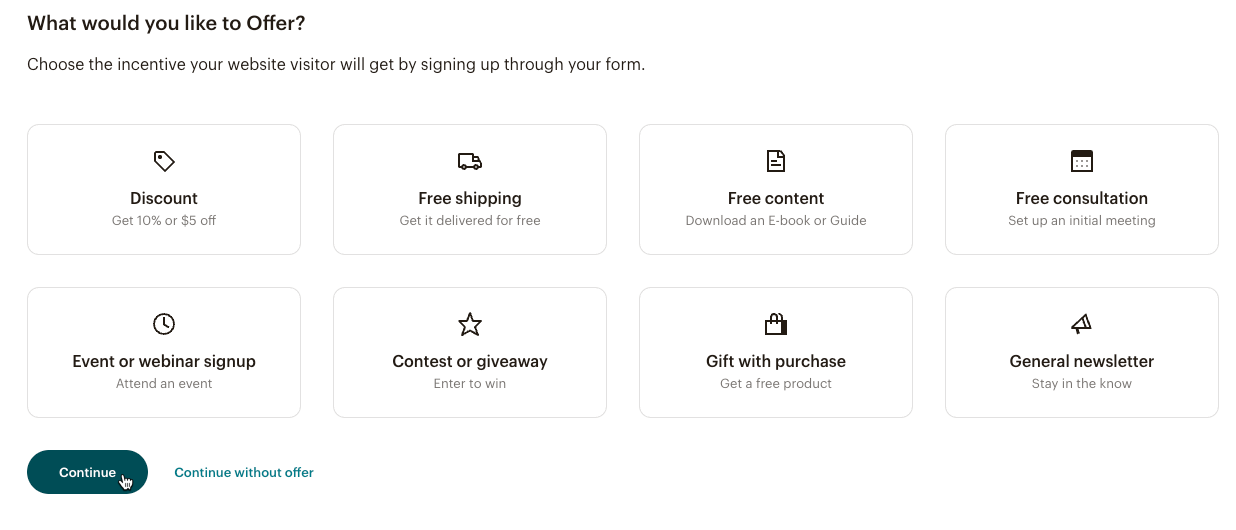
Use the new popup form editor to create and design your form. Choose specific offerings to incentivize visitors and grow your audience.
You’ll navigate to the Popup forms Overview page where you can create your form.
There are three main steps to create a form. Select an incentive to get visitors to signup, choose a template, then set up your form.

Note
Pop-up forms don't support tap-to-text. Use Reply Y to get consent to capture phone numbers for audience lists using double opt-in settings.
That’s it! Your popup form is ready. You'll go to the Forms Editor to customize your form.
Design your layout, choose colors, add a logo, animations, and much more to customize your form and complement your website. To learn more, check out Design Your Popup Form.
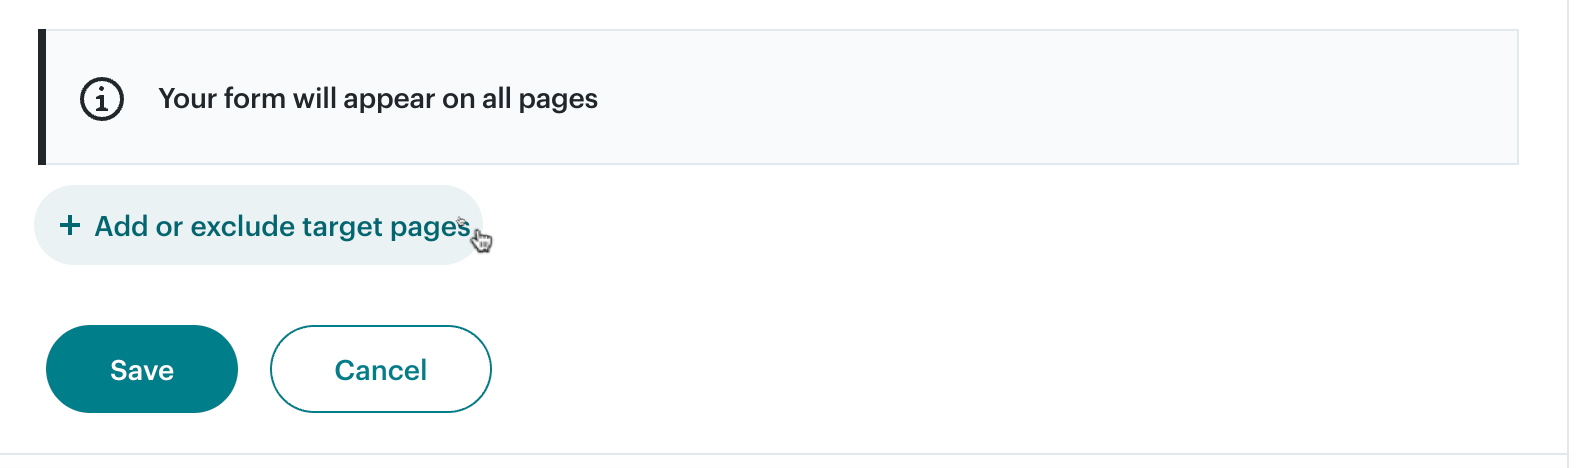
When you’ve setup and added design elements to your popup form, you can review and update your settings before you publish. The popup form checklist displays a checkmark next to all completed settings. We'll create default settings but you can adjust to suit your needs.
Here are the settings you’ll see on the checklist page.
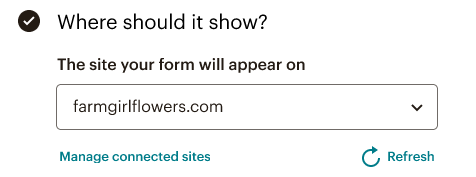
After you’ve reviewed your settings, and connected your site, you’re ready to publish your form. If not, you’ll need to connect your site. We'll show you how in the next section.
You can create multiple popup forms based on your customers geographical location. This helps you tailor your marketing based on their location. For example, you can display different popup messages for international vs domestic visitors.
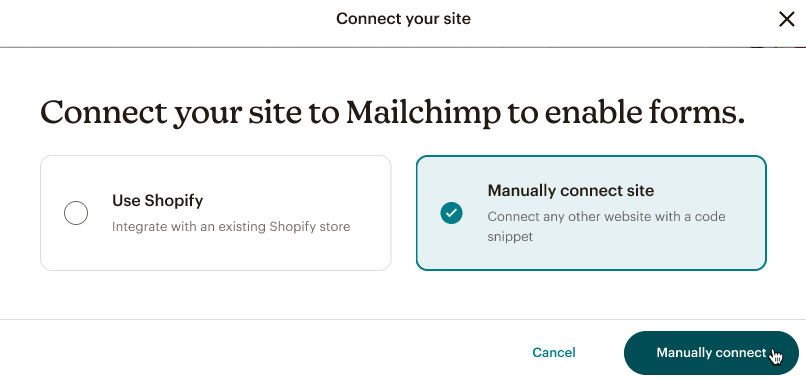
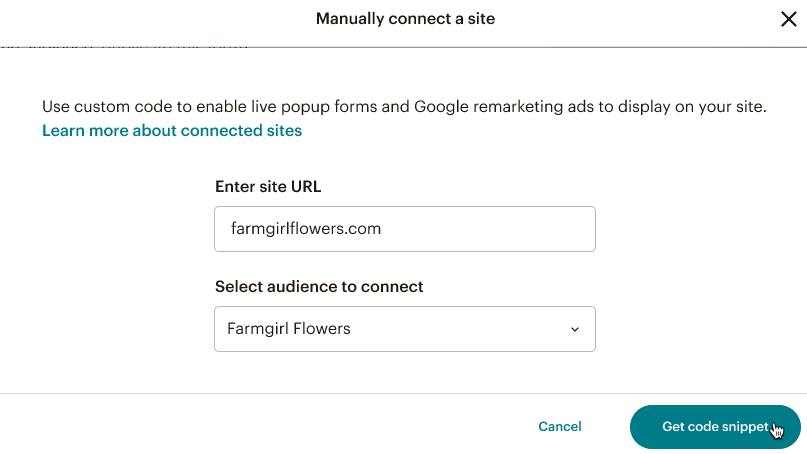
Before you can publish your form, your site needs to be connected to Mailchimp. You can connect your site before you create your form from the Overview page or right before you publish. If you’ve already connected a site, you’ll be able to move to the publish flow.

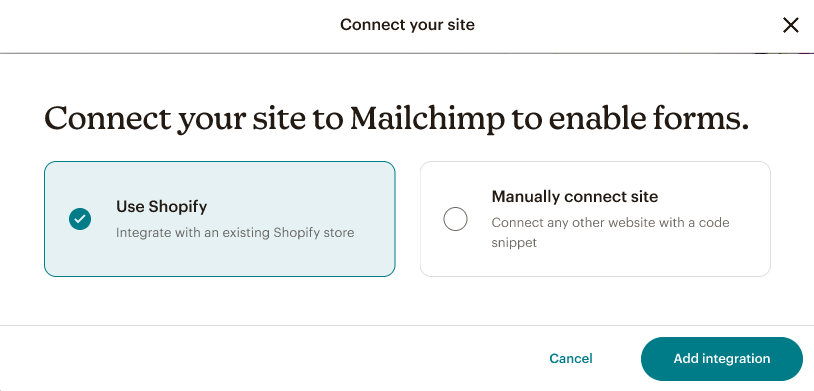 You’ll navigate to the Shopify app store for the Mailchimp integration.
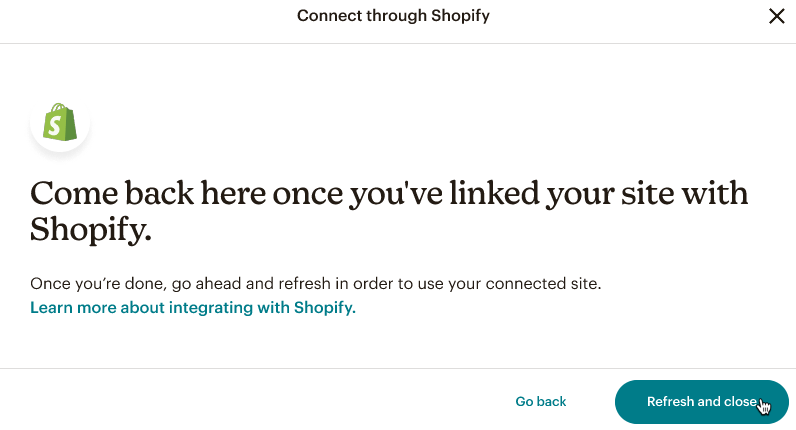
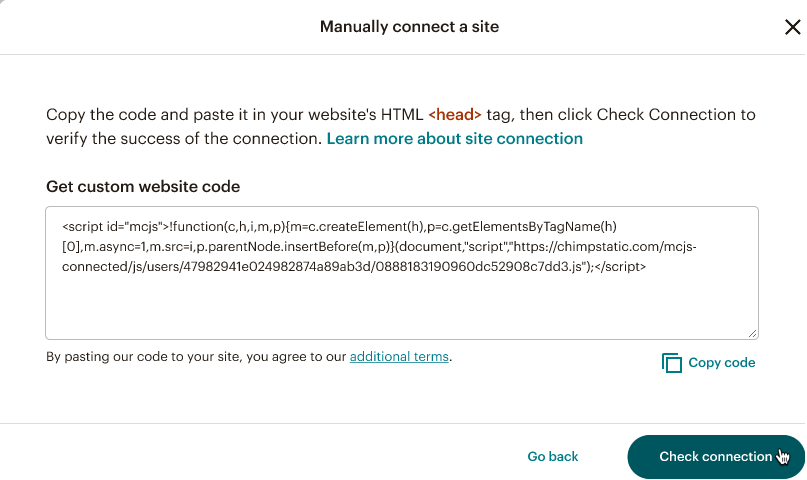
That’s it! If your connection is successful, you’re ready to publish.
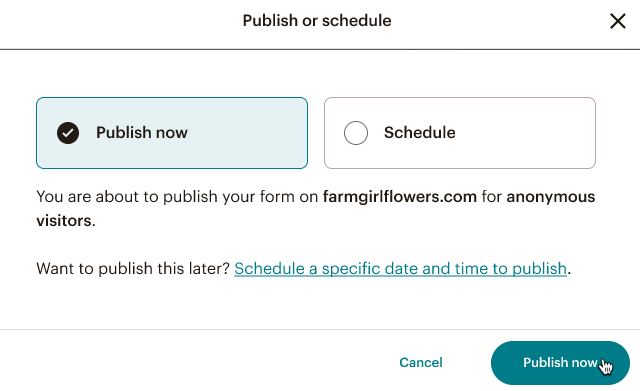
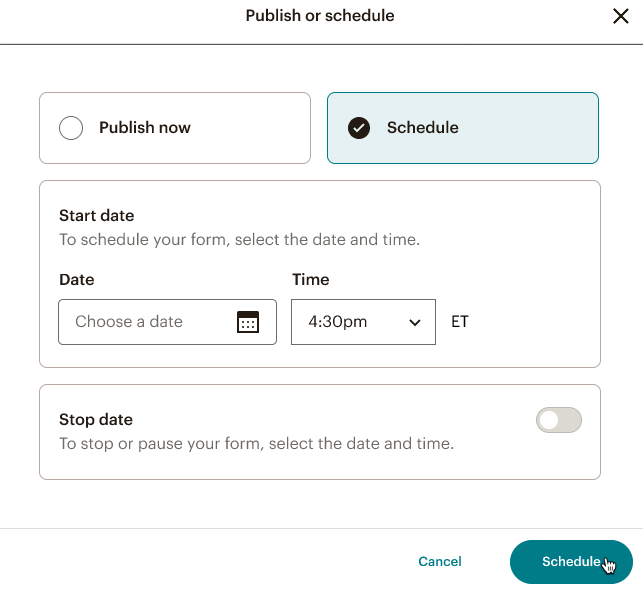
After you've designed your form, connected your site, you can publish and make changes live on your website.
After your form is live on your site, we'll collect metrics to help you gauge performance and make adjustments. You’ll want to make sure you’re collecting the right information to meet your marketing goals. To learn more, check out Manage Your Popup Form.
Technical Support

Have a question?
Paid users can log in to access email and chat support.
Learn how to customize and design popup forms in Mailchimp.
Learn how to manage popup forms in Mailchimp.