About Postcards
Use Mailchimp postcards to share promo codes, announce an event, recover abandoned carts, or just say thank you.

Get the job done with a pro
From training to full-service marketing, our community of partners can help you make things happen.
Go beyond digital marketing and send a printed postcard campaign that people can hold in their hands. Target any of your contacts around the world, or introduce yourself to a new audience.
In this article, you’ll learn how to create a one-time send postcard campaign, and how to use our postcard audience tool to reach more people.
Here are some things to know before you begin this process.

The one-time send postcard is designed to be the most flexible postcard campaign in Mailchimp. Use our audience tool to send your postcards around the world, even if you don't have any addresses yet. Add a unique promo code to generate and track purchases, and follow delivery progress in your campaign report.
To create a one-time send postcard, follow these steps.

Click All campaigns.
Click Create Campaign.


This will take you to the postcard builder, where you’ll choose your budget and audience, add your content, and send.
You can send your postcard campaign to any type of contact in your audience, regardless of their email marketing status. The higher your budget, the more people you have the potential to reach. If you want to use the mailing address data in your audience, make sure it’s properly formatted. If you're missing addresses for one or more contacts, our address finder tool may be able to help.
To send a postcard campaign to your contacts in Mailchimp, follow these steps.


To see the list of postcard contacts that will be sent a postcard, click View Recipients.

The Postcard Recipients modal displays the postcard recipients’ first and last names and addresses. If you used address finder, we’ll display Found Using Address Finder in the Address column.
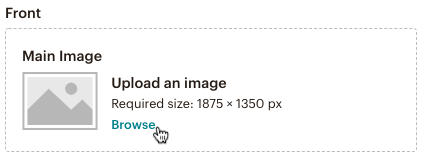
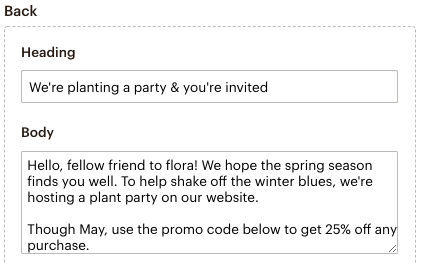
Choose a main image for the front of your postcard, and add a heading, body text, and optional brand logo to the back. You can also include a promo code from your online store. Content will appear on the preview as you add it.
To add content to your postcard, follow these steps.



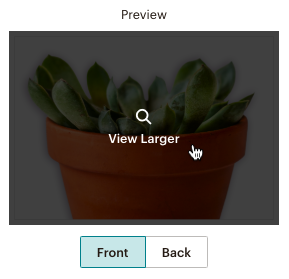
Nice job! Now that you’ve designed your postcard, you’ll want to preview it to make sure everything looks good and prints as expected.
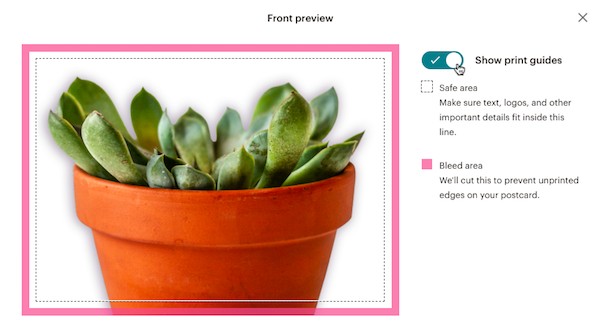
When your campaign goes to the printer, they’ll trim the sides so that the design extends to the edges. Our postcard preview tool shows you exactly where they’ll cut, so you can make sure important details won’t be removed.
To preview your postcard, follow these steps.
After you choose your audience, budget, and content, you’ll be able to send your postcard campaign. You can also schedule your postcard to be printed and sent at a later date.
To send your postcard campaign, follow these steps.


Great job! Your campaign will display as Processing as we prepare to send your order to the printer. If you have the Mailchimp mobile app, we’ll send a push notification to your phone whenever the status changes.

To view your report, navigate to the Reports section of your Mailchimp account and click the name of your postcard campaign.
Here’s what you’ll find in your postcard campaign report.
Your report will also display the front and back of your finished postcard.
Technical Support
Have a question?
Paid users can log in to access email and chat support.
Use Mailchimp postcards to share promo codes, announce an event, recover abandoned carts, or just say thank you.
Learn how to automate your postcards with a recurring campaign.
Learn how to verify that a contact’s mailing address is formatted correctly in your Mailchimp audience, and what steps to take if it’s not.