About Classic Automations
Learn how automation works and get tips for how you can use automation to streamline your work.

Get the job done with a pro
From training to full-service marketing, our community of partners can help you make things happen.
When someone signs up for your marketing, it's an opportunity to make a great first impression. Send them a welcome message to introduce yourself, say thank you, or offer a special promotion. In Mailchimp, you can use a marketing automation flow to make sure each new contact receives a welcome email or sms automatically.
In this article, you'll learn how to create an automated welcome message with a marketing automation flow.
Here are some things to know before you begin this process.
Automated welcome messages are built with marketing automation flows. Depending on your plan, you may not have access to all automation flow tools. To find out what features are included in each plan, check out our pricing page. To change your plan type, visit the Plans page in your account.
To learn how automation flows work before you build one, check out About Marketing Automation Flows.
Every welcome flow starts with a Signs up for Email or Signs up for SMS starting point. Before you build your flow, it's important to understand exactly who that trigger adds, so your welcome message reaches the contacts you expect.
The Signs up for Email or Signs up for SMS triggers add contacts who are new to your audience and have a status of subscribed to email or SMS. Here's what that means in practice.
Imported contacts are included by default. Contacts who are new to your audience and added by import will enter your flow. If you'd rather welcome only the contacts who sign up through a form, use the checkbox in your trigger settings to exclude imported contacts.
Filters let you narrow who enters. Click Filter who can enter this flow to add segmenting conditions to your trigger, so only the contacts you choose receive your welcome message. Filter by signup source, tags, group or audience field data, location, or ecommerce attributes. This is useful for personalizing your welcome content — for example, you could build one flow that welcomes contacts who joined through a specific form or landing page with content about that offer, and another that welcomes contacts tagged from an event with a different message.
Contacts who re-subscribe depend on your re-entry setting. If your flow is set to allow contacts to re-enter, a contact who goes from subscribed to unsubscribed and then subscribes again can receive your welcome message. If your flow doesn't allow contacts to re-enter, contacts who re-subscribe won't receive it.
Already-subscribed contacts won't be added again. A contact who's already subscribed won't enter the flow just because they fill out another form. For example, a subscribed contact who submits a form or landing page to claim a lead magnet or other offer won't get your welcome message again. This isn't affected by your re-entry setting. If you want every contact who fills out a form to receive a flow, consider using the Joins segment or Tag added trigger instead.
Contacts from a one-time historical sync won't be added. If contacts are added to your audience through a one-time historical sync from an integrated platform, they won't enter your flow. This prevents your welcome message from going out to a batch of existing customers all at once. Going forward, though, new contacts who sync from that integration will be queued into your flow as they're added, so you only need to connect the integration once.
Double opt-in adds a delay. If double opt-in is enabled for your audience, a new contact isn't added as a subscribed contact until they click the link in your opt-in confirmation email or text message. That means they won't enter your flow at the moment they submit your signup form — they'll enter it after they confirm and their status updates to subscribed. Contacts who never confirm won't enter the flow at all. To learn more, check out About Double Opt-in.
We offer several flow templates that welcome new contacts. Each one comes with a signup trigger and a welcome message already in place, so you only need to choose your audience and edit the content. Depending on the template, the trigger might be a general email signup, a signup through a specific form, or a signup for SMS.
To use a flow template, follow these steps.
Click the Automations icon, then click Flow templates.
Find the welcome templates. Search for "welcome," or scroll to the Find & welcome new contacts section.
Choose the template that fits your needs, with outreach by email, SMS, or both. Click a template to open a preview of the flow. The preview shows the flow's description, trigger, requirements, and objective, so you can confirm it's the right fit.
Click Use this flow.
Click the drop-down menu to choose an audience, then click Continue.
Depending on which template you choose, you may also need to choose a store or product to configure your flow. To learn more, check out Use Automation Flow Templates.
Some welcome templates are AI-powered. If you choose a template from the AI-powered flows section, Intuit Assist will use your brand kit to generate designed, on-brand email content for you to review. To learn more, check out Use Intuit Assist with Automation Flow Templates.
Now you're ready to review the trigger, edit your message, and turn the flow on.
Build from scratch when you want to set your own delay, add multiple welcome emails or SMS messages, or filter who receives the welcome.
To learn about the other triggers available, check out All the Marketing Automation Flow Triggers.
After you add the trigger, add the steps that make up your flow. To add a step, click and drag rules and actions from the side panel onto your flow, or click the plus icon (+) on the map and select the rule or action you want to add.
For a welcome flow, add these steps.
Click Save when you finish editing.
Before you turn on your flow, use Send a Test Email to check your design, copy, and links in a real inbox without activating your flow or adding anyone to your audience. You can test more than one email at a time, which is helpful if your welcome flow is a series.
To send a test email, follow these steps.
Check your inbox to review the email. If you need to make changes, edit the Send email action and send another test.
Great job! Now, anyone who signs up for your email marketing will receive your welcome email.
We'll display a checklist with your welcome email settings. Review the checklist and make any necessary changes to your automation, like From name, email address, subject line, or sending delay.
To edit the draft, follow these steps.
Click Start Sending.
In the pop-up confirmation box, click Start Now.
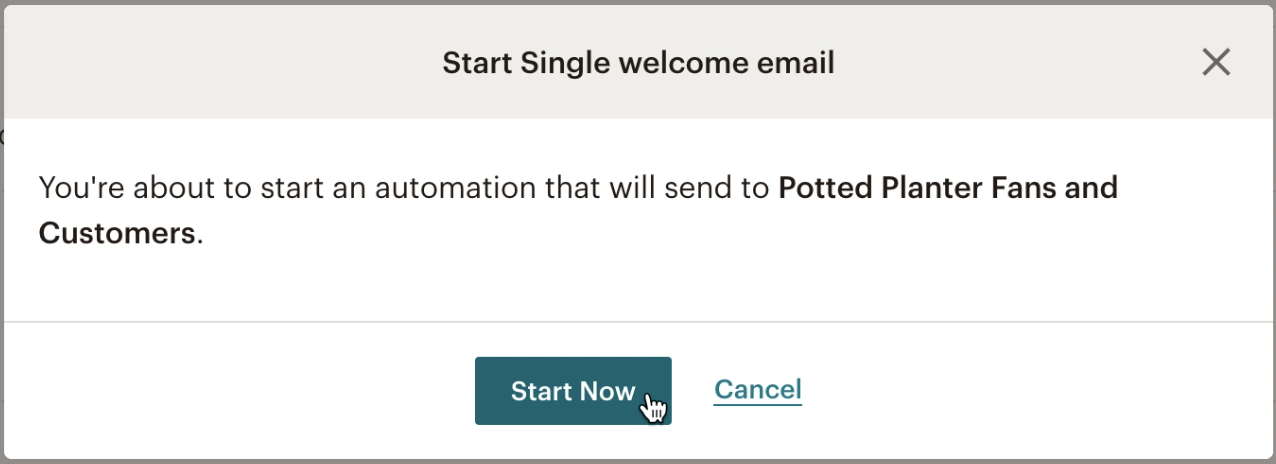
Great job! Now, anyone who signs up to your email marketing will receive your welcome message. After the data begins to roll in, you can view your automation report to see how it’s performing.
After you turn on your flow, you may want to test the whole thing end to end to confirm contacts enter it and receive the email.
Tip: Use Gmail to get extra addresses for testing. If you don't have a new address to try with your signup form, that's OK. Gmail users can create instant disposable email addresses by adding a plus sign and additional numbers or letters to the address. Here's an example:
| Original Gmail Address | Variations |
|---|---|
| freddie@gmail.com | freddie+1@gmail.com<br><br>freddie+2@gmail.com<br><br>freddie+testing@gmail.com |
When you join your Mailchimp audience with these address variations, we’ll recognize them as unique subscribers. All welcome emails sent to the new addresses will go to your original inbox.
Technical Support

Have a question?
Paid users can log in to access email and chat support.
Learn how automation works and get tips for how you can use automation to streamline your work.
Use automations to create a targeted series of emails that send when triggered by a specific date, event, or subscriber's activity.
Learn how to use post-sending actions with your automations to organize or target contacts who've received your messages.