Sell More Stuff with Mailchimp
Use Mailchimp's free e-commerce tools to boost ROI and attract new customers. Learn how our powerful features can help you sell more stuff.

Get the job done with a pro
From training to full-service marketing, our community of partners can help you make things happen.
Mailchimp for Adobe Commerce, formerly Magento 2, is a free tool that syncs your Adobe Commerce customers and their order information to a Mailchimp audience. Use purchase data to enable automated campaigns with personalized product recommendations, and turn on e-commerce tracking to measure campaign ROI.
In this article, you'll learn how to connect and disconnect Mailchimp for Adobe Commerce.
Here are some things to know before you begin this process.
Here's a brief overview of the multi-step installation process.
Configure and Connect
To get started, you'll download Mailchimp for Adobe Commerce extension from Adobe Commerce's Marketplace.
To download the free ZIP file for Mailchimp for Adobe Commerce, follow these steps.
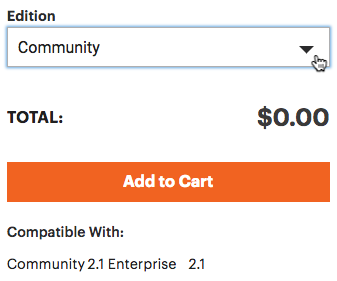
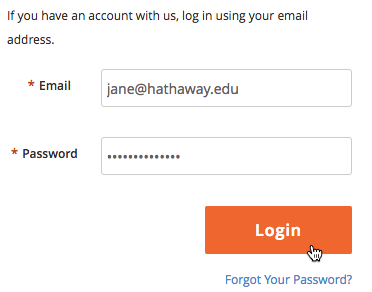
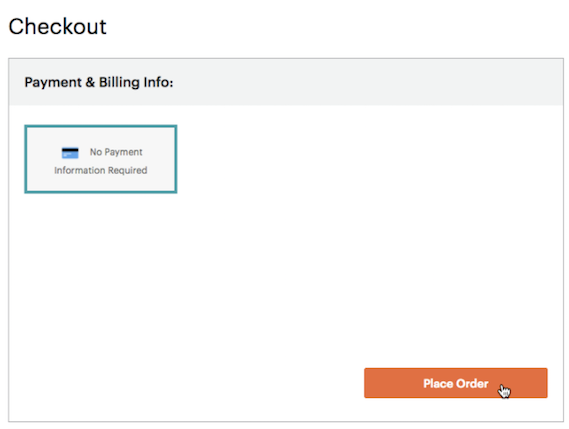

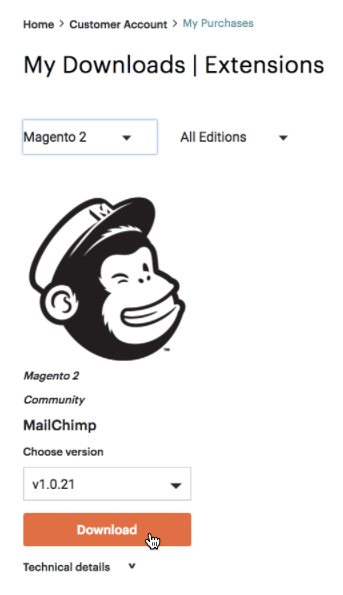
Now that you've downloaded the extension, you'll use the Component Manager to install the extension to your Adobe Commerce account.
To install Mailchimp for Adobe Commerce, follow these steps.
After you run the Component Manager, finish installation of your new purchase and you're halfway done! Need help with installation? Check out Adobe Commerce's documentation.
To wrap up, you'll complete a multi-step process to create a Mailchimp store inside Adobe Commerce and configure its settings. Then, you'll connect that store to Adobe Commerce and decide what information to share between the two apps.
Before you create and connect a Mailchimp store to Adobe Commerce, you'll need to create a Mailchimp API key and add it to your Adobe Commerce account.
To add an API key to Adobe Commerce, follow these steps.


To create a Mailchimp store in Adobe Commerce you'll input your store details and customize settings, like your contact information and the Mailchimp audience you want to sync to Adobe Commerce.
To create a Mailchimp store, follow these steps.

Awesome job! Now that you've created your Mailchimp store, you're ready to connect it to Adobe Commerce.
You made it to the last step! To finish this part, you'll need to return to the Configuration page in Adobe Commerce.
To connect your Mailchimp store to Adobe Commerce, follow these steps.


You have several options if you want to further customize the information that's passed between Adobe Commerce and Mailchimp.
To set additional options, follow these steps.


That's it! Now that your store is connected, we'll start syncing your Adobe Commerce customer and order data to Mailchimp. To verify your store is connected properly, navigate to the Integrations page in Mailchimp and make sure your Adobe Commerce store appears there.
Note
Adobe Commerce supports multiple websites and store views. If your store has multiple domains, you can connect each to their own Mailchimp audience. Contact your Adobe Commerce developer or hire an expert for assistance.
After you connect Mailchimp to Adobe Commerce, you can do a lot with the data you collect, like build segments, send automations, track purchases, make personalized product recommendations, and view results.
Find out more about everything Mailchimp has to offer in these guides.
If you need to disconnect the integration, you can disable it in Adobe Commerce at any time.
To disable the integration, follow these steps.

Technical Support

Have a question?
Paid users can log in to access email and chat support.
Use Mailchimp's free e-commerce tools to boost ROI and attract new customers. Learn how our powerful features can help you sell more stuff.
Send an email to customers who add items to their cart but don't check out. Recover lost sales for your e-commerce store.