View and Edit Section Design in Email and Landing Pages
Design entire sections of your emails and landing pages, including the header, footer, and body. Learn how to add borders, background colors, and more.

Get the job done with a pro
From training to full-service marketing, our community of partners can help you make things happen.
Drag-and-drop content blocks make it easy to customize your Mailchimp landing pages. Use content blocks to add or edit text, images, products, discount codes, and more.
In this article, you'll learn about the different types of content blocks and how to use them.
Here are a few things to know before you start.
| Type | Description |
|---|---|
| Text | Add text and wrap text around an image. |
| Boxed Text | Add text in a border and choose a background color. |
| Divider | Add a horizontal line between content blocks. |
| Image | Add an image to your content. |
| Image Group | Add multiple images. |
| Image Card | Add an image and add a caption in a border. Choose a unique background color to display behind the image and caption. |
| Image + Text | Add an image with a caption to the left, right, top, or bottom. |
| Share | Add social icons to allow recipients or page visitors to share your content on sites such as Facebook or X (formerly Twitter). |
| Social Follow | Add social icons so recipients or page visitors can follow you or your company on sites such as Facebook or X (formerly Twitter). |
| Button | Add a button that links to a website or file for download. |
| Video | Add a video, with or without a caption. |
| Product | Add any product from a connected store. |
| Discount Code | Add a discount code from a connected store. |
| Signup Form | Add a signup form. |
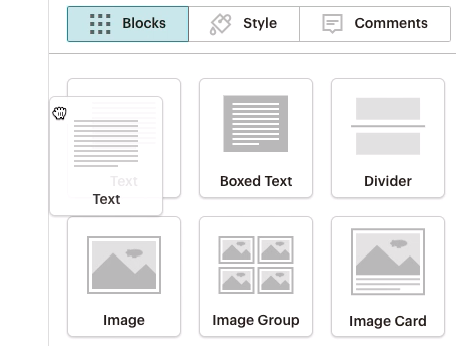
To add a content block into a layout, click and drag the block into your design.
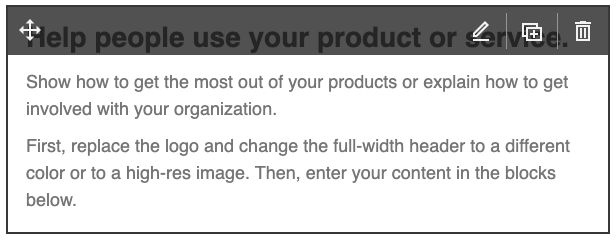
To move a block, click and hold the handle in the top left of a content block, drag the block to where you want it to go, and release.
![]()
When you move a content block, we’ll highlight the Preheader, Header, Body, Column, and Footer sections to indicate where in the layout you're about to drop the block. When you move a block to a different section, it takes on any style preferences for that section.
Use the Style and Settings tabs to customize the design of individual content blocks. Click a content block in your landing page to view the editor, and choose the Style or Settings tab to make changes.
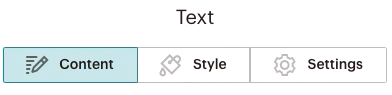
The Style tab is where you’ll make changes to font type and color, text alignment, button appearance, and more. Preferences applied to an individual block will override style choices for the entire section.
The Settings tab includes additional customization options, such as the number of columns, where to place an image caption, or which products to display.
Each content block type has different style and settings options, so try a few to see which best achieves the design you're looking for.
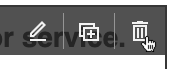
To permanently delete a content block, follow these steps.

Technical Support

Have a question?
Paid users can log in to access email and chat support.
Design entire sections of your emails and landing pages, including the header, footer, and body. Learn how to add borders, background colors, and more.